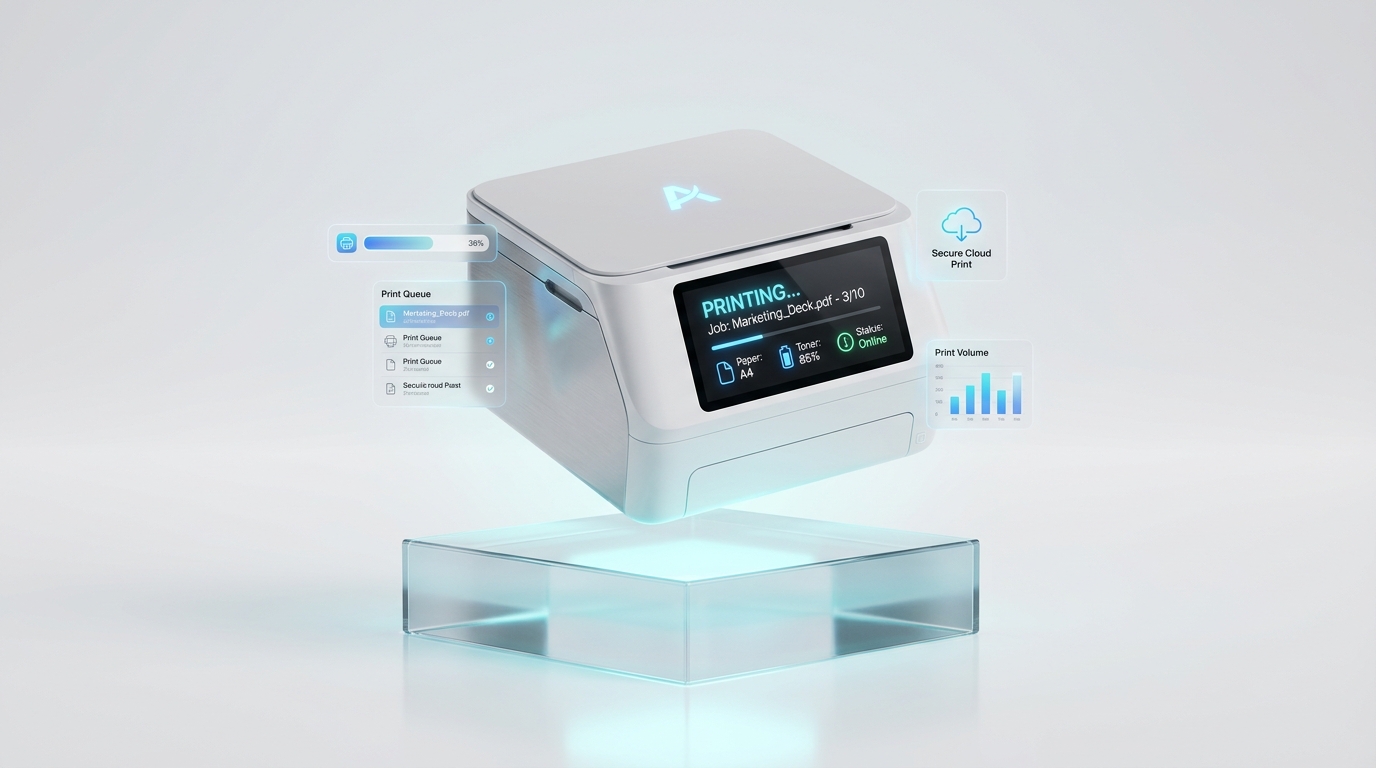
Printer Setup Guides
Complete step-by-step printer setup, driver installation, wireless configuration, troubleshooting, and maintenance instructions for home and office printers.
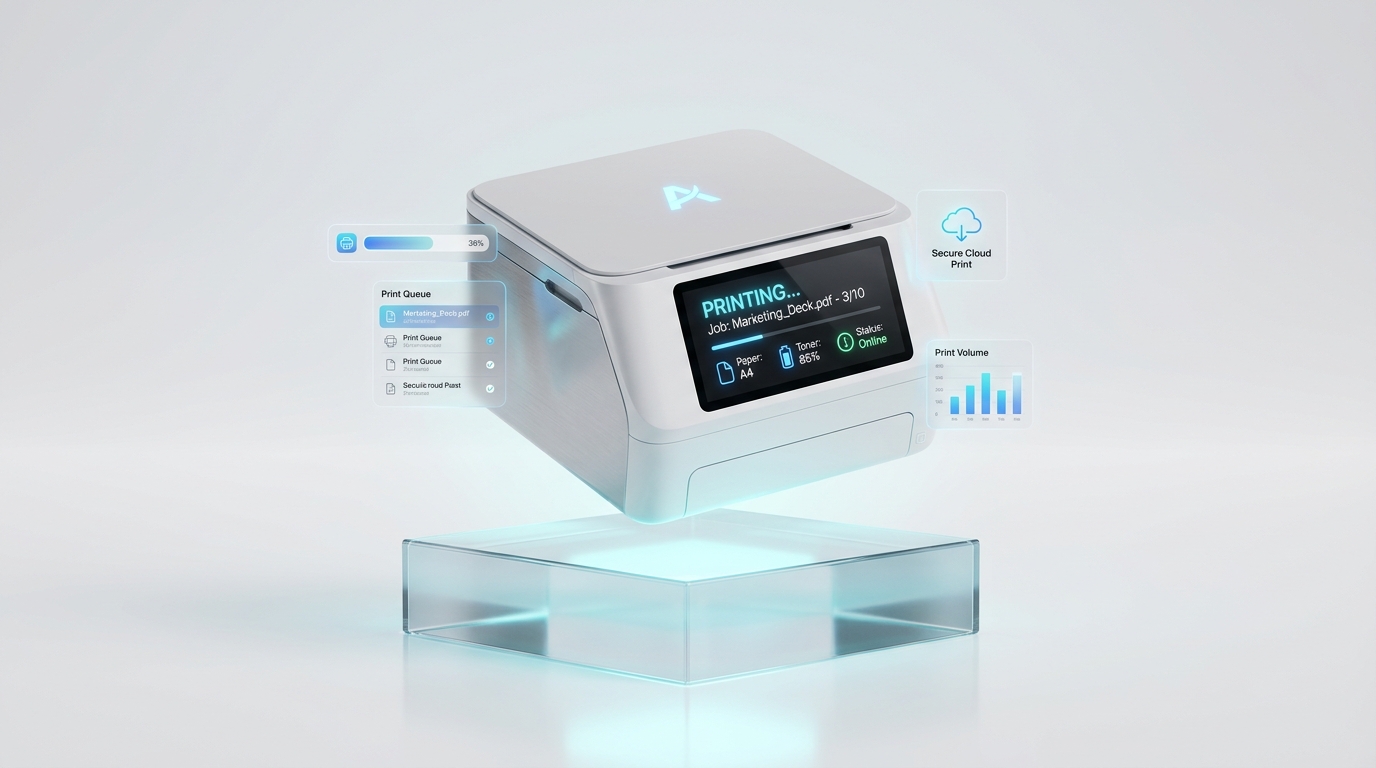
Printer Setup Made Simple
Setting up a new printer or reconfiguring an existing device for a new computer network requires careful attention to hardware preparation, driver software installation, and network connection parameters. Whether you operate a compact desktop inkjet printer for home document printing or manage a multi-function office laser printer, following a standardized setup procedure ensures peak performance, vibrant color accuracy, and reliable wireless connectivity.
Modern operating systems such as Windows 11 and macOS Sequoia provide automated device discovery, but installing the official full-featured driver package from your printer manufacturer unlocks essential utility software. This includes high-resolution scanner configuration, optical character recognition (OCR), ink levels monitoring, and automatic printhead cleaning schedules.
This knowledge hub delivers complete, beginner-friendly setup instructions covering hardware unboxing, ink cartridge initialization, Wi-Fi pairing via WPS or touchscreen wizards, USB cable connections, operating system print spooler setup, and preventative maintenance strategies.
Before You Begin
Ensure you have the required hardware, network credentials, and software installers ready before starting the setup process.
Printer Model Details
Locate the exact model number printed on the front display bezel or rear serial sticker to ensure you fetch matching driver installers.
Power Requirements
Plug the printer power cable directly into a grounded AC wall outlet rather than an unpowered extension strip to prevent voltage drops.
Wireless Credentials
Gather your 2.4GHz or 5GHz Wi-Fi network SSID name and security WPA2/WPA3 password prior to running the wireless setup wizard.
USB 2.0/3.0 Cables
For wired setup, keep a high-speed USB A-to-B cable (under 6 feet) available. Do not plug in the USB cable until the installer prompts you.
Driver Downloads
Download verified full feature software packages from your printer manufacturer's official support downloads repository.
OS Compatibility
Confirm operating system version compatibility for Windows 11, Windows 10 (64-bit), or macOS Sequoia before initiating driver installation.
How to Set Up Your Printer
Follow these 10 structured steps to unbox, connect, install drivers, and verify your printer setup.
Unbox and Prepare the Printer
Carefully lift the printer out of its shipping carton. Remove all protective orange tape, foam blocks, and plastic guards from the external chassis, input tray, scanner glass, and cartridge access door. Place the printer on a sturdy, level surface near your computer or Wi-Fi router.
Install Ink or Toner Cartridges
Open the cartridge access door. Remove new original ink cartridges or laser toner cartridges from their protective packaging. Gently pull off the brightly colored protective tape covering the copper contact pads and ink nozzles. Insert each cartridge into its color-coded slot until you hear an audible click.
Load Paper Correctly
Pull out the primary input paper tray. Fan a stack of plain white Letter or A4 paper to prevent static cling. Load the paper print-side down (or as indicated by paper tray icons). Slide the paper width and length guides inwards until they rest gently against the edges of the paper without buckling it.
Power On the Device
Connect the power cable to the back of the printer and plug it into a wall outlet. Press the Power button. Allow the printer to complete its initial mechanical calibration and cartridge priming sequence (this may take 2 to 5 minutes). Select your language and region on the touchscreen display if prompted.
Connect via USB or Wi-Fi
For Wireless Wi-Fi: Open Network/Wireless Settings on the printer control panel, tap Wireless Setup Wizard, choose your Wi-Fi SSID, and enter your password. Alternatively, press the WPS button on your router.
For USB: Connect the USB cable between printer and PC when the driver installer prompts you.
Download and Install Drivers
Visit your manufacturer's official support site, enter your model number, and download the recommended Full Feature Driver and Software Package. Right-click the downloaded executable and run it as Administrator. Follow the setup wizard to install print spoolers and scanning utilities.
Add Printer to Windows
On Windows 11, navigate to Settings > Bluetooth & devices > Printers & scanners. Click Add device. Select your detected network or USB printer from the list and click Add Device to establish the Windows Print Spooler port binding.
Add Printer to macOS
On macOS Sequoia, open System Settings > Printers & Scanners. Click the Add Printer, Scanner, or Fax (+) button. Select your printer under the Default tab (using AirPrint or vendor driver) and click Add.
Print a Test Page
Open Printer Properties in Windows or Print Queue settings in macOS and click Print Test Page. Inspect the printed document for text sharpness, grid alignment, color balance, and missing lines.
Verify Scanner Functions
Place a document face-down on the scanner glass. Launch your scanning utility (such as Windows Scan or manufacturer IJ/HP Scan App). Perform a preview scan, adjust resolution to 300 DPI, and save a test PDF to confirm full scanner functionality.
Common Printer Setup Issues
Printer Not Detected
Symptoms: Installer fails to locate printer on Wi-Fi or USB.
Cause: Network isolation mode or bad USB port.
Solution: Connect to 2.4GHz SSID & run installer as Admin.
Driver Installation Failed
Symptoms: Setup wizard stops with error 0x0000007e.
Cause: Outdated print spooler cache or antivirus block.
Solution: Clear C:\Windows\System32\spool\PRINTERS & retry.
Wi-Fi Connection Problems
Symptoms: Blue Wi-Fi LED light keeps blinking.
Cause: Router MAC filtering or weak Wi-Fi signal.
Solution: Use WPS button pairing or reset network defaults.
USB Connection Issues
Symptoms: "USB Device Not Recognized" popup in Windows.
Cause: USB hub extension or defective USB cable.
Solution: Connect USB cable directly to motherboard port.
Offline Printer Status
Symptoms: Printer status displays Offline in Windows settings.
Cause: Print Spooler service crash or dynamic IP drop.
Solution: Uncheck Use Printer Offline & restart Spooler.
Scanner Not Working
Symptoms: Scanner app shows error "WIA service not responding".
Cause: Missing TWAIN/WIA scanner driver.
Solution: Restart WIA in services.msc & reinstall scanner driver.
Print Queue Errors
Symptoms: Documents get stuck deleting or printing.
Cause: Corrupted print job buffer.
Solution: Cancel print queue & restart Print Spooler service.
Firmware Update Problems
Symptoms: Printer screen freezes during firmware update.
Cause: Wi-Fi connection drop mid-flash.
Solution: Perform hardware hard reset & flash via USB tool.
Printer Setup on Windows 11
Windows 11 Driver & Spooler Configuration
Windows 11 features a streamlined device management console designed to automatically detect plug-and-play printers. However, for full multi-function support, follow these steps to configure print queues, port assignments, and default device settings:
- Press Windows Key + I to open System Settings.
- Select Bluetooth & devices from the left sidebar, then click Printers & scanners.
- Click Add device. Allow Windows 11 to scan your local network for broadcasted AirPrint/WSD printers.
- If your printer model is not automatically listed, click "The printer that I want isn't listed" and select Add a local printer or network printer with manual settings.
- Select Standard TCP/IP Port for network printers, enter your printer's static IP address, and choose your downloaded driver INF file.
- Toggle Set as default printer to prevent Windows from altering your default printer selection automatically.
Printer Setup on macOS
macOS AirPrint & ICA Scanner Integration
macOS Sequoia and Ventura utilize driverless Apple AirPrint technology for seamless wireless printing over local Bonjour network protocols:
- Click the Apple Menu icon at the top-left corner and select System Settings.
- Scroll down and select Printers & Scanners.
- Click Add Printer, Scanner, or Fax (+) button under the printer list.
- Select your wireless printer under the Default tab. Verify that the Use dropdown field displays Secure AirPrint or your vendor's installed ICA driver.
- Click Add to complete installation. Open Apple's built-in Preview app or Image Capture utility to initiate document scanning.
Printer Maintenance Best Practices
Clean Printhead Nozzles
Run an automated printhead cleaning cycle every 2 months to prevent dried ink build-up inside micro-nozzles.
Proper Paper Storage
Store paper reams flat in a dry, cool cabinet to prevent moisture absorption that causes paper jams.
Clean Scanner Glass
Wipe scanner glass with a soft microfiber cloth and glass cleaner to prevent streaks on document scans.
Printer Setup & Driver FAQ
Internet access is required to download official driver installer software from manufacturer support sites. However, once installed, local USB and local Wi-Fi printing operate without active internet.
Apple AirPrint provides driverless basic printing for macOS and iOS. Installing vendor full-featured drivers adds advanced print preferences, paper tray selection, and scanning software utilities.
This occurs when your computer and printer are connected to different router frequency bands (e.g. PC on 5GHz, printer on 2.4GHz) or if router AP Isolation mode is enabled.
Open Settings > Bluetooth & devices > Printers & scanners, click your printer, select Printer Properties, and click the "Print Test Page" button at the bottom.
Need Help Setting Up Your Printer?
Our technical support specialists are available to guide you through complex Wi-Fi, driver, and spooler configuration.